Jira§
Note
This howto uses the 8.19.1 version; other versions may have different dependencies and options.
To run Atlassian Jira using Unit:
Install Unit with a Java language module.
Install Jira’s core files. Here, we install it at /path/to/app/; use a real path in your configuration.
For example:
$ cd /path/to/app/
$ curl https://www.atlassian.com/software/jira/downloads/binary/atlassian-jira-software-8.19.1.tar.gz -O -C -
$ tar xzf atlassian-jira-core-8.19.1.tar.gz --strip-components 1
Download Jira’s third-party dependencies to the lib subdirectory:
$ cd lib/
$ curl https://github.com/mar0x/unit-transaction-init/releases/download/2.0/transaction-init-2.0.jar -O -C -
$ curl https://repo1.maven.org/maven2/com/atomikos/atomikos-util/5.0.8/atomikos-util-5.0.8.jar -O -C -
$ curl https://repo1.maven.org/maven2/com/atomikos/transactions-api/5.0.8/transactions-api-5.0.8.jar -O -C -
$ curl https://repo1.maven.org/maven2/com/atomikos/transactions-jdbc/5.0.8/transactions-jdbc-5.0.8.jar -O -C -
$ curl https://repo1.maven.org/maven2/com/atomikos/transactions-jta/5.0.8/transactions-jta-5.0.8.jar -O -C -
$ curl https://repo1.maven.org/maven2/com/atomikos/transactions/5.0.8/transactions-5.0.8.jar -O -C -
$ curl https://repo1.maven.org/maven2/javax/transaction/jta/1.1/jta-1.1.jar -O -C -
$ curl https://repo1.maven.org/maven2/org/eclipse/jetty/jetty-jndi/11.0.6/jetty-jndi-10.0.6.jar -O -C -
$ curl https://repo1.maven.org/maven2/org/eclipse/jetty/jetty-plus/11.0.6/jetty-plus-10.0.6.jar -O -C -
$ curl https://repo1.maven.org/maven2/org/eclipse/jetty/jetty-util/11.0.6/jetty-util-10.0.6.jar -O -C -
Later, these .jar files will be listed in the classpath option of the Unit configuration.
Patch your Jira configuration, dropping env from the comp/env/UserTransaction object path. This ensures the UserTransaction object will be found by your installation:
$ cd /path/to/app/
$ sed -i 's#comp/env/UserTransaction#comp/UserTransaction#g'  \
      atlassian-jira/WEB-INF/classes/entityengine.xml
Run the following command (as root) so Unit can access the application directory:
# chown -R unit:unit /path/to/app/
Note
The unit:unit user-group pair is available only with official packages, Docker images, and some third-party repos. Otherwise, account names may differ; run the ps aux | grep unitd command to be sure.
For further details, including permissions, see the security checklist.
Next, put together the Jira configuration (use real values for working_directory and jira.home):
{
    "listeners": {
        "*:80": {
            "pass": "applications/jira"
        }
    },

    "applications": {
        "jira": {
            "type": "java",
            "working_directory": "/path/to/app/",
            "webapp": "atlassian-jira",
            "options": [
                "-Djava.awt.headless=true",
                "-Djavax.accessibility.assistive_technologies= ",
                "-Djira.home=/path/to/jira/home/",
                "-Dnginx.unit.context.listener=nginx.unit.TransactionInit",
                "-Xms1024m",
                "-Xmx1024m"
            ],
            "classpath": [
                "lib/atomikos-util-5.0.8.jar",
                "lib/hsqldb-1.8.0.10.jar",
                "lib/jcl-over-slf4j-1.7.30.jar",
                "lib/jetty-jndi-10.0.6.jar",
                "lib/jetty-plus-10.0.6.jar",
                "lib/jetty-util-10.0.6.jar",
                "lib/jta-1.1.jar",
                "lib/log4j-1.2.17-atlassian-3.jar",
                "lib/slf4j-api-1.7.30.jar",
                "lib/slf4j-log4j12-1.7.30.jar",
                "lib/transaction-init-2.0.jar",
                "lib/transactions-5.0.8.jar",
                "lib/transactions-api-5.0.8.jar",
                "lib/transactions-jdbc-5.0.8.jar",
                "lib/transactions-jta-5.0.8.jar"
            ]
        }
    }
}
See Java application options for details.
Note
You can’t update the configuration in Unit after startup due to Jira’s own restrictions.
Upload the updated configuration. Assuming the JSON above was added to
config.json. Run the following command as root:# curl -X PUT --data-binary @config.json --unix-socket \ /path/to/control.unit.sock http://localhost/config/
Note
The control socket path may vary; run unitd -h or see Startup and Shutdown for details.
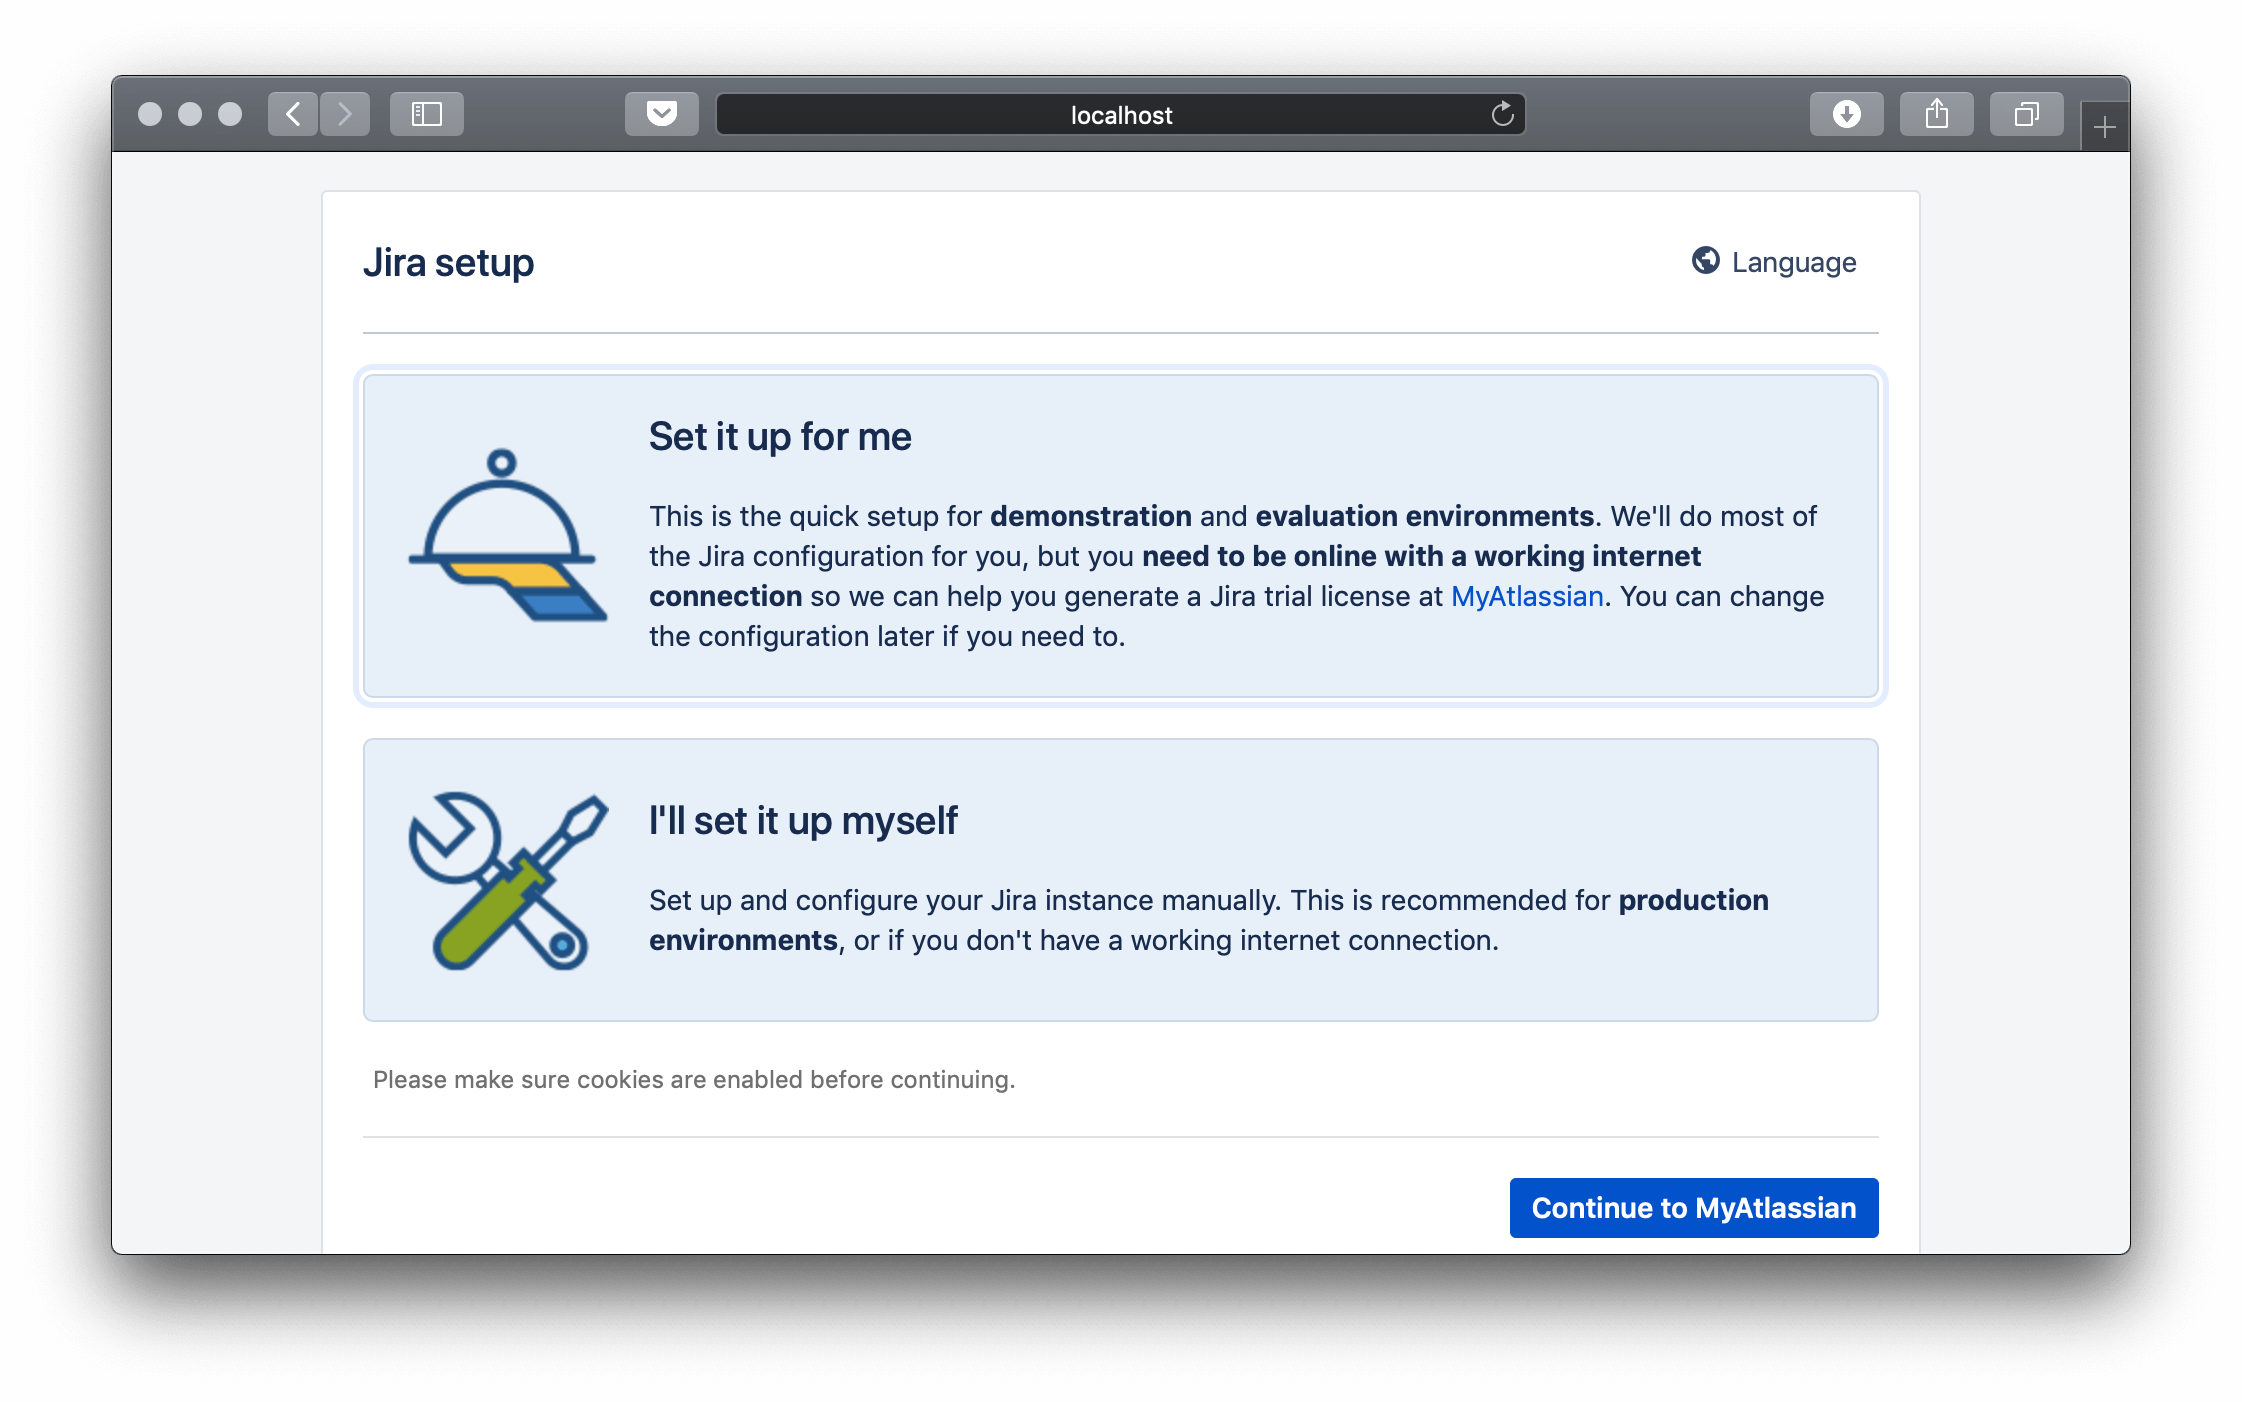
After a successful update, Jira should be available on the listener’s IP address and port. Browse to http://localhost/jira to continue the setup in your browser: