phpMyAdmin§
To run the phpMyAdmin web tool using Unit:
Install Unit with a PHP language module.
Install and configure phpMyAdmin’s prerequisites.
Install phpMyAdmin’s core files. Here, we install it at /path/to/app/; use a real path in your configuration.
Note
Make sure to create the config.inc.php file manually or using the setup script.
Run the following command so Unit can access the application directory:
# chown -R unit:unit /path/to/app/
Note
The unit:unit user-group pair is available only with official packages, Docker images, and some third-party repos. Otherwise, account names may differ; run the ps aux | grep unitd command to be sure.
For further details, including permissions, see the security checklist.
Next, prepare the phpMyAdmin configuration for Unit (use real values for share and root):
{
    "listeners": {
        "*:80": {
            "pass": "routes"
        }
    },

    "routes": [
        {
            "match": {
                "uri": "~\\.(css|gif|html?|ico|jpg|js(on)?|png|svg|ttf|woff2?)$"
            },

            "action": {
                "share": "/path/to/app$uri"
            }
        },
        {
            "action": {
                "pass": "applications/phpmyadmin"
            }
        }
    ],

    "applications": {
        "phpmyadmin": {
            "type": "php",
            "root": "/path/to/app/"
        }
    }
}
Upload the updated configuration. Assuming the JSON above was added to
config.json:# curl -X PUT --data-binary @config.json --unix-socket \ /path/to/control.unit.sock http://localhost/config/
Note
The control socket path may vary; run unitd -h or see Startup and Shutdown for details.
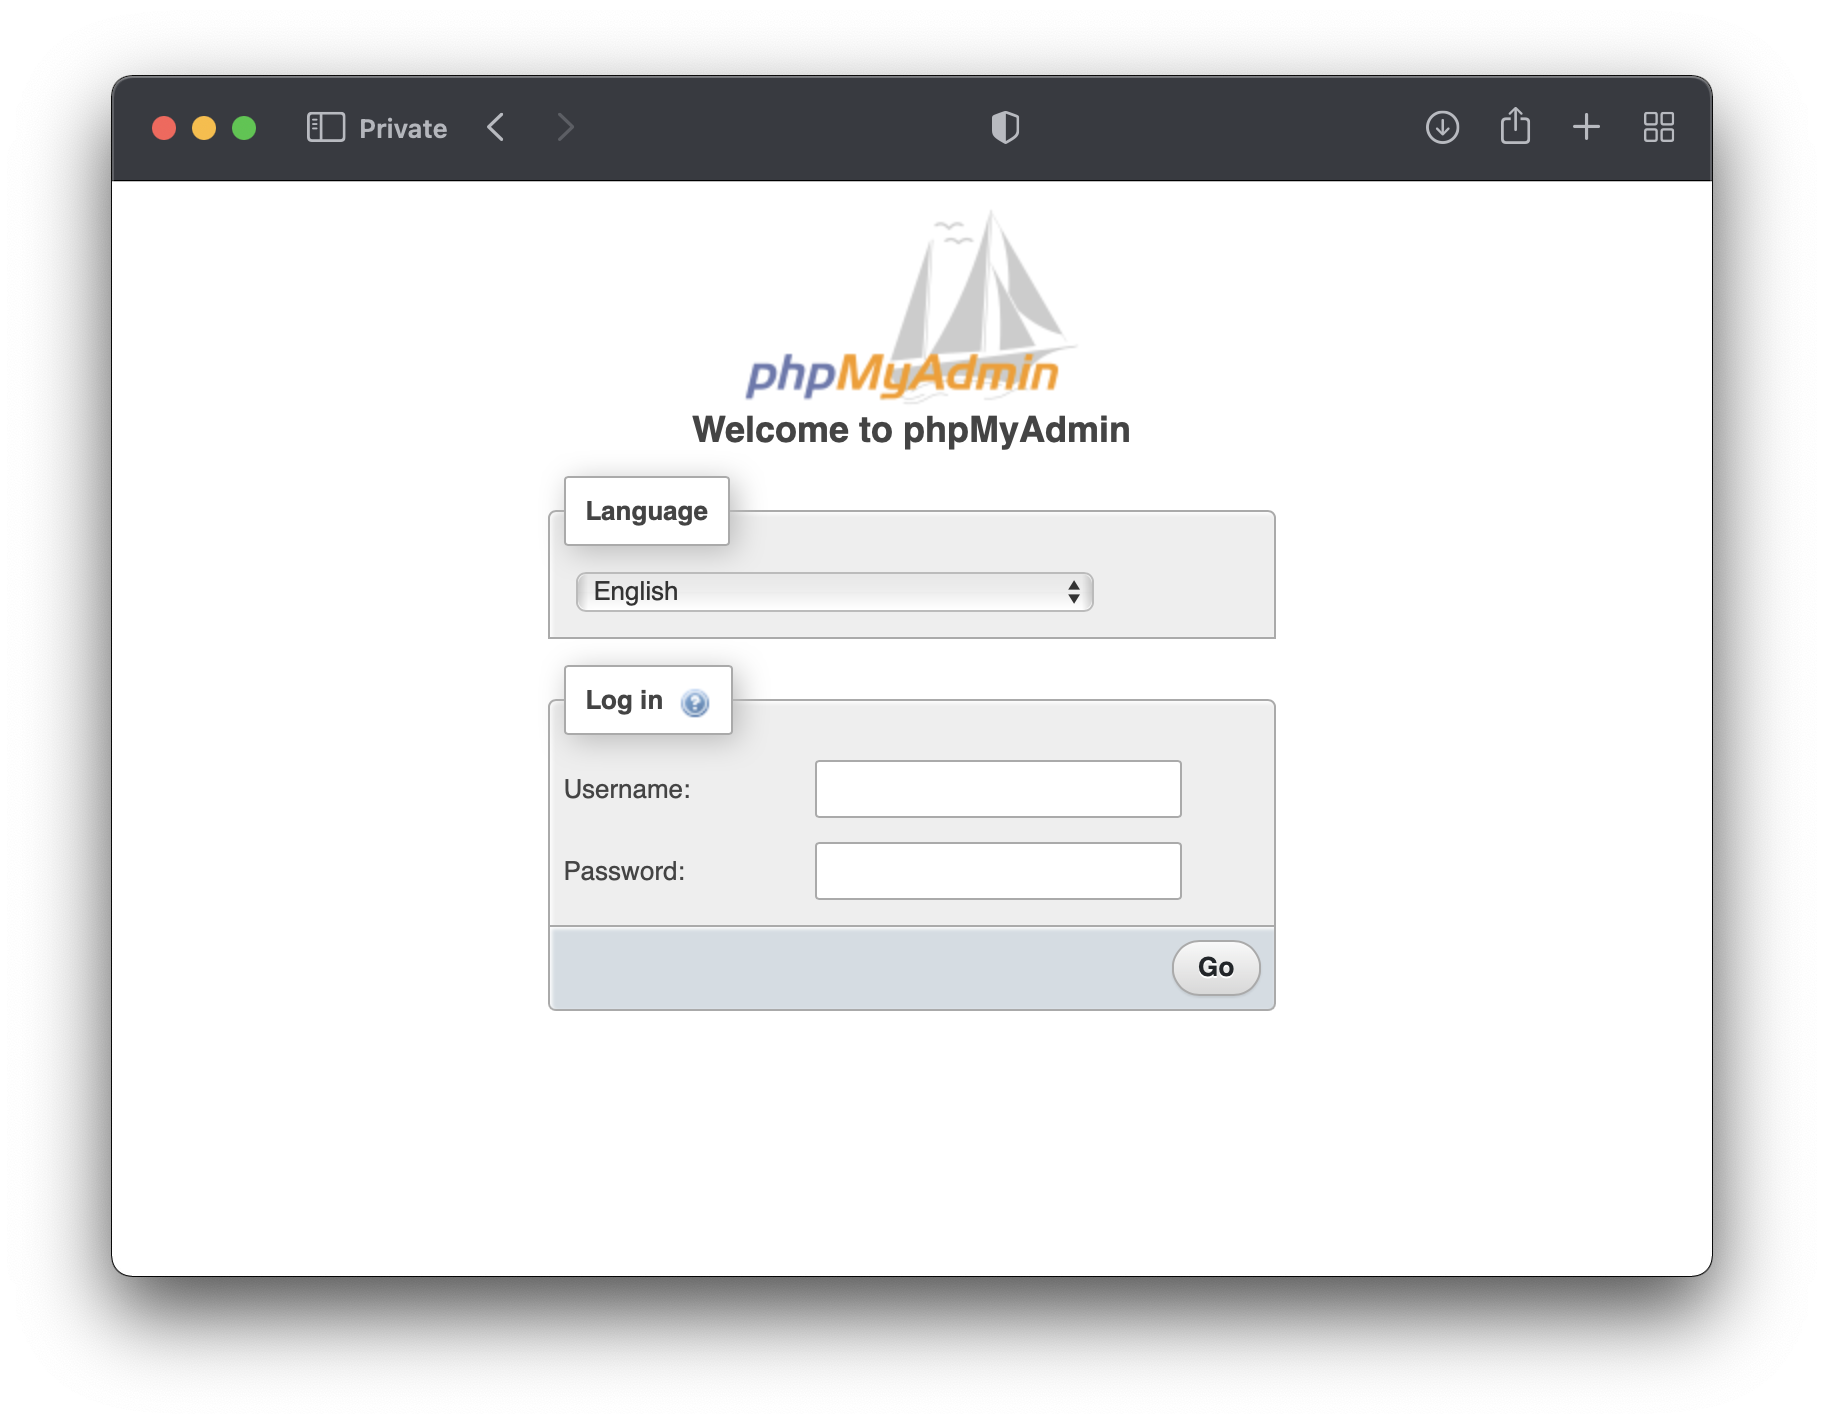
After a successful update, phpMyAdmin should be available on the listener’s IP address and port: