Spring Boot§
To run apps based on the Spring Boot frameworks using Unit:
Install Unit with a Java language module.
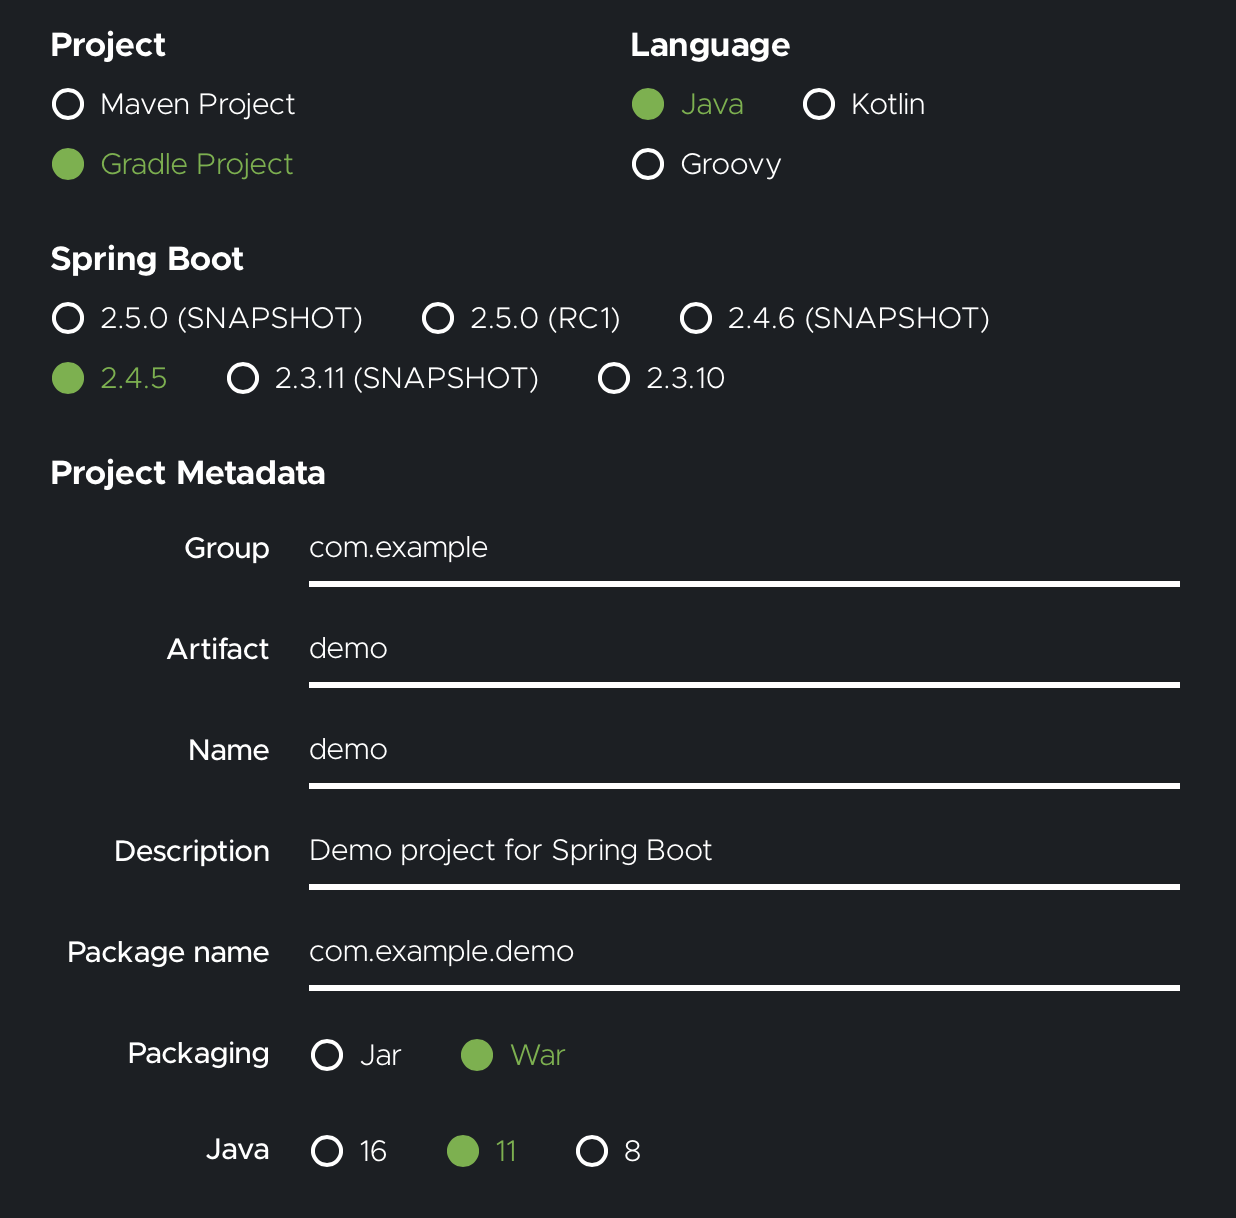
Create your Spring Boot project; we’ll use the quickstart example, creating it at https://start.spring.io:
Note
Choose the same Java version that your Unit language module has.
Download and extract the project files where you need them:
$ unzip demo.zip -d /path/to/app/
This creates a directory named /path/to/app/demo/ for you to add your app code to; in our example, it’s a single file called /path/to/app/demo/src/main/java/com/example/demo/DemoApplication.java:
package com.example.demo;

import org.springframework.boot.SpringApplication;
import org.springframework.boot.autoconfigure.SpringBootApplication;
import org.springframework.web.bind.annotation.GetMapping;
import org.springframework.web.bind.annotation.RequestParam;
import org.springframework.web.bind.annotation.RestController;

@SpringBootApplication
@RestController
public class DemoApplication {

  public static void main(String[] args) {
    SpringApplication.run(DemoApplication.class, args);
  }

  @GetMapping("/hello")
  public String hello(@RequestParam(value = "name", defaultValue = "World") String name) {
    return String.format("Hello, %s!", name);
  }
}
Finally, assemble a .war file.
If you chose Gradle as the build tool:
$ cd /path/to/app/demo/
$ ./gradlew bootWar
If you chose Maven:
$ cd /path/to/app/demo/
$ ./mvnw package
Note
By default, Gradle puts the .war file in the build/libs/ subdirectory, while Maven uses target/; note your path for later use in Unit configuration.
Run the following command (as root) so Unit can access the application directory:
# chown -R unit:unit /path/to/app/
Note
The unit:unit user-group pair is available only with official packages, Docker images, and some third-party repos. Otherwise, account names may differ; run the ps aux | grep unitd command to be sure.
For further details, including permissions, see the security checklist.
Next, put together the Spring Boot configuration (use a real value for working_directory):
{
    "listeners": {
        "*:80": {
            "pass": "applications/bootdemo"
        }
    },

    "applications": {
        "bootdemo": {
            "type": "java",
            "webapp": "gradle-or-maven-build-dir/demo.war",
            "working_directory": "/path/to/app/demo/"
        }
    }
}
Upload the updated configuration. Assuming the JSON above was added to
config.json. Run the following command as root:# curl -X PUT --data-binary @config.json --unix-socket \ /path/to/control.unit.sock http://localhost/config/
Note
The control socket path may vary; run unitd -h or see Startup and Shutdown for details.
After a successful update, your app should be available on the listener’s IP address and port:
$ curl http://localhost/hello?name=Unit

      Hello, Unit!